How to Make a Burning Bridges AI Video
Make a Burning Bridges AI video from one photo: upload, credits, task progress, MP4 download, then captions, audio and framing for your post.
Last updated: 2026-10-11
1. Choose one photo and check the preview
Start with a photo of yourself or one adult who agreed to appear. Use JPG, PNG or WebP up to 10 MB, with a short edge of at least 340 pixels. The photo guide explains file shape, cropping and rejected uploads.
Watch the existing example before choosing the effect. It is an earlier Pro test using a prepared party image. The current studio takes your photo directly in Standard mode; the example helps explain the motion, not guarantee your result.
2. Open the studio and prepare your credits
Open the Burning Bridges AI studio and sign in. A generation uses 100 credits. The pricing page offers one-time packs for 1, 3 or 10 generation allowances, without a subscription. Unused credits do not expire.
Check the availability message before buying or submitting. If the studio says generation is unavailable, wait until the service is ready. A disabled purchase button is not a request to set up an API account yourself.
3. Upload, add optional notes and confirm consent
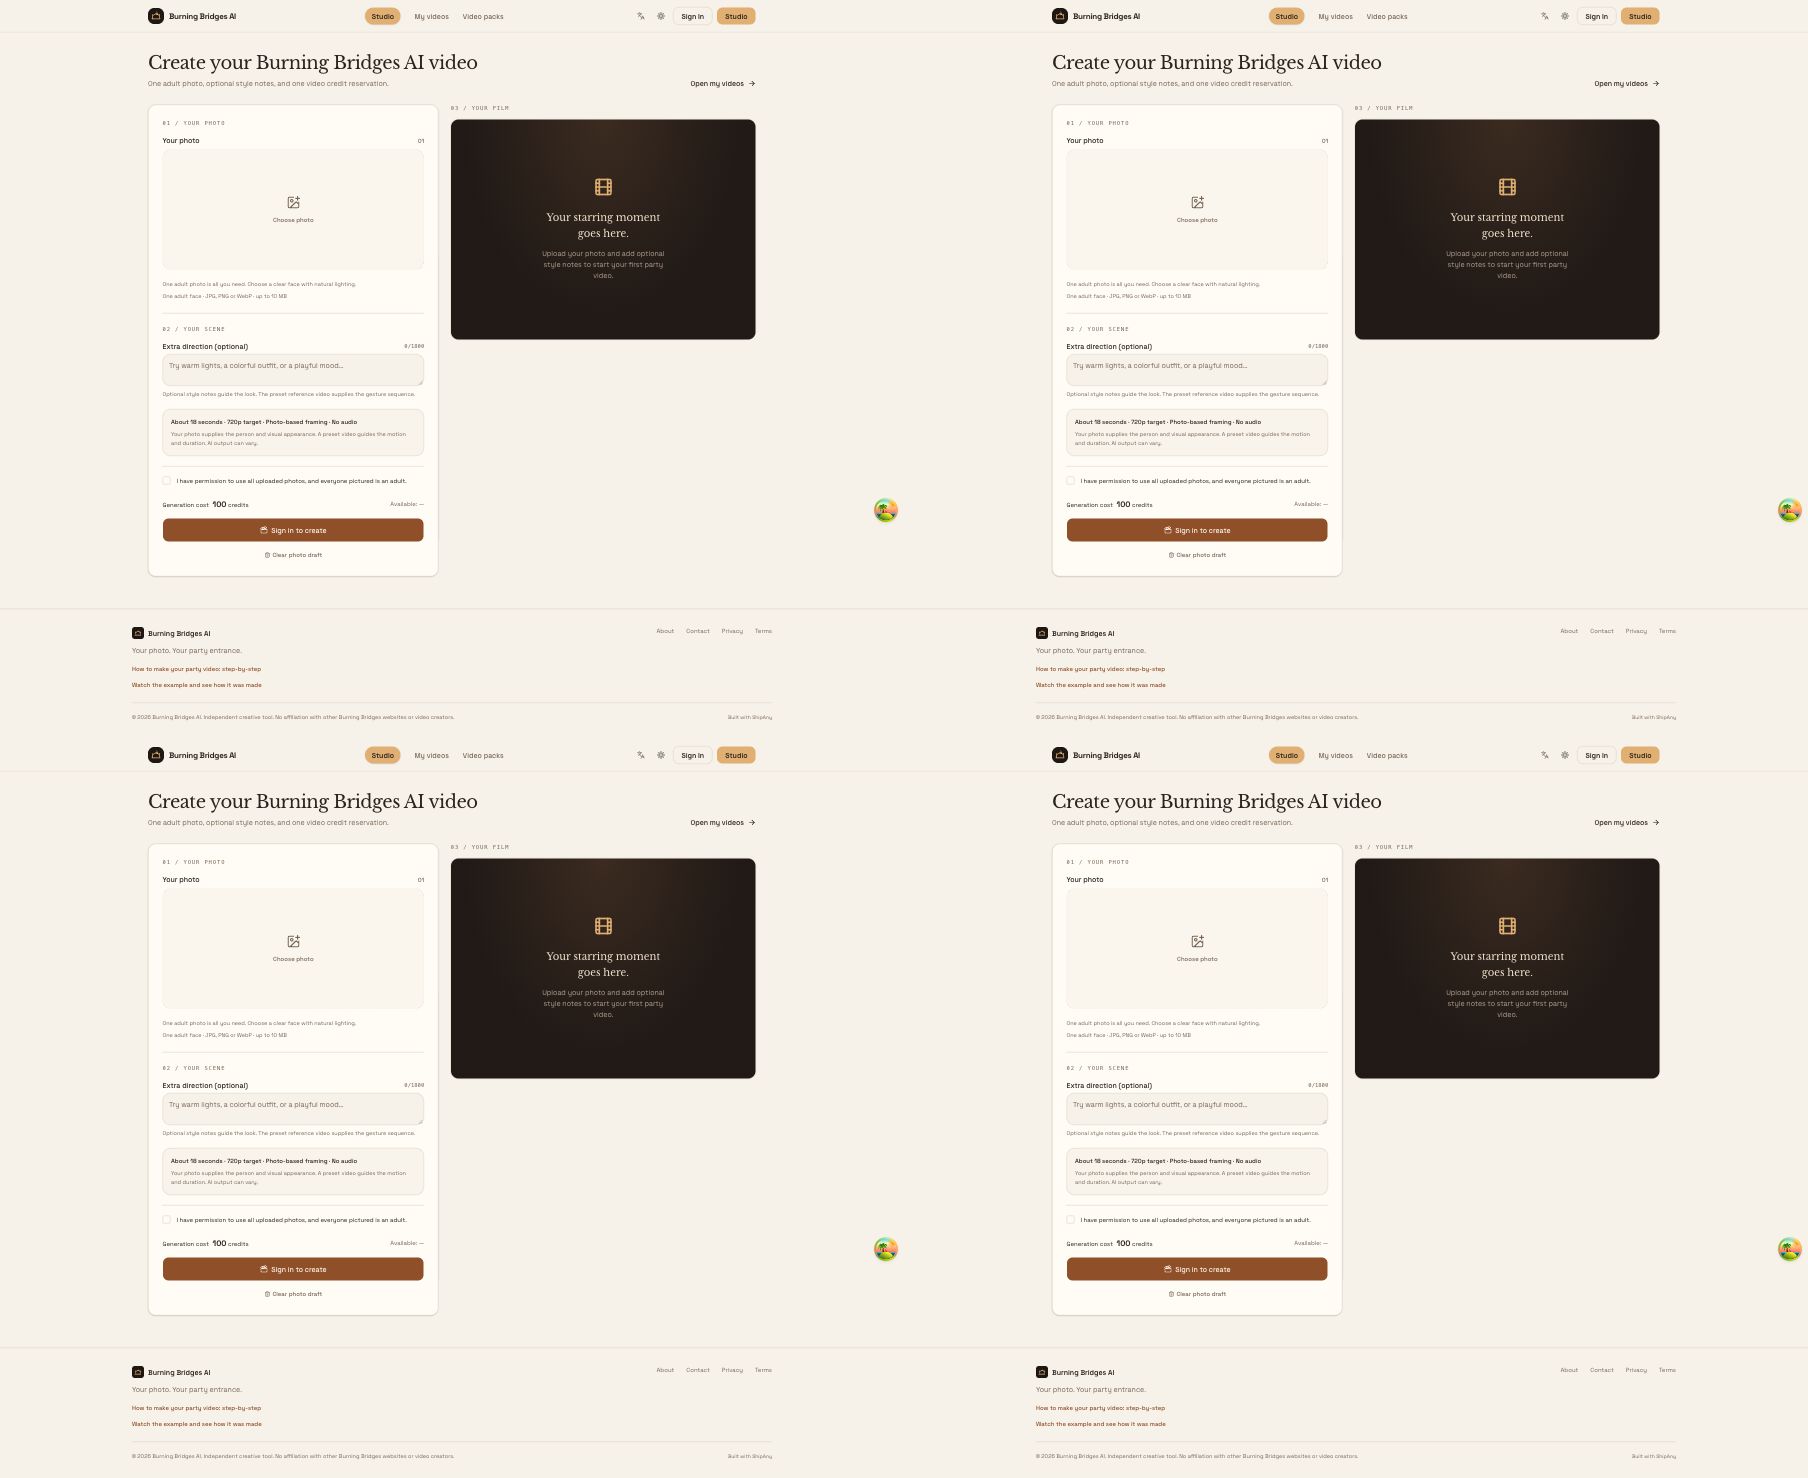
The English studio, shown before sign-in with no photo uploaded. The right-hand panel is where the result appears.
Select Choose photo and inspect the uploaded portrait. Use Replace photo if you picked the wrong person. The template already includes the motion reference and a default party direction; leaving the optional notes empty is fine.
If you add notes, keep them to a compatible visual preference, such as warmer lighting or a relaxed mood. Instructions to change the cast, length or choreography do not add those features. Review the format panel: about 18 seconds, a 720p target, photo-based framing and no audio.
Confirm that you have permission to use the photo and that the person is an adult, then press Create video once.
4. Follow the job without submitting duplicates
The task appears in My videos. It can be queued, rendering or ready. You can leave the studio and return to the library without restarting generation. Rendering may take several minutes or longer when the provider is busy.
If the page says Submission is being checked, keep the task ID and wait for the existing job to resolve. Sending another request can create another paid job. If it stays pending, use support and include the task ID and displayed status.
Confirmed failed or canceled tasks return their reserved credits. This is a usage-credit return, not a refund of the purchase payment.
5. Play the full result and download the MP4
Before sharing, check the face at the start and end, hands during the collar and visor gestures, clothing, and people in the background. The reference guides the movement, but generated details can vary.
Use Download MP4 when it is ready. If the result is marked Temporary video, download within one hour of completion. If saving to the library is being retried, download the available file promptly. Keep a local copy rather than treating the library as your only archive.
6. Add a caption and audio
Import the silent MP4 into your usual video editor. Add one short caption that explains the joke or occasion; the meme guide has original caption ideas. Keep important text away from the face and hands.
To add music, choose a track available for your use in the editor or posting app. If your app offers a sound library, select a suitable track there, preview the timing and check availability for your account. The studio does not include the original song or grant rights to a recording.
7. Check the framing before posting
The studio does not automatically deliver a second vertical version. If your result is landscape and you want a 9:16 post, use your editor to make a vertical canvas. Fit the clip with a background fill to keep the gestures visible, or crop only after checking that the head, hands and cup remain in frame throughout.
Preview the finished post with captions and audio. Check that the app’s interface does not cover your text, make clear that the clip is AI-generated, and avoid implying the person attended a real event.
For account, payment or download problems, visit Contact & Support. To make another clip, return to the studio.